[Android] Hyper-Vで使うVisual Studio Emulator for Androidの最初の一歩
どうもうまくAndroidエミュレータが動かない…
いわゆる ADV Manager をつかって、Androidをエミューレートしたいのですが
なぜかうまく起動しない…
環境
- Windows10 x64
- Visual Studio 2017
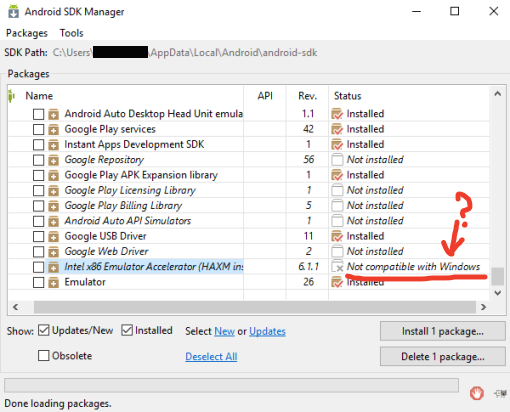
Android SDK Managerをよく見てみると、HAXM installer が “Not compatible with Windows” となっています
ふむ…
無理矢理 HAXM のインストーラーをダウンロードしてきても、こんな感じでエラー
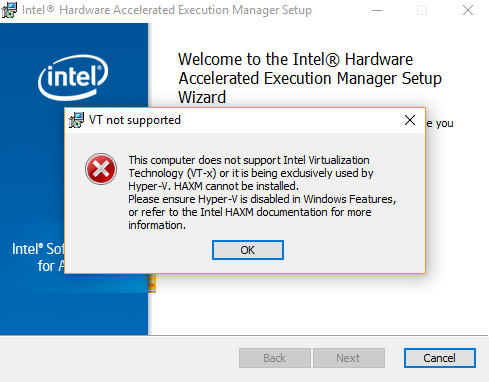
This computer does not support Intel Virtualization Technology (VT-x) or it is being exclusively used by Hyper-V, HAXM cannot be installed.
Please ensure Hyper-V is disabled in Windows Features, or refer to the Intel HAXM documentation for more information.
なんですと…Hyper-Vが入ってたら使えないよだと…(`・ω・´)
ワタクシ、Android 開発のために手元の Hyper-V を辞める事は出来ないデスヨ!
調べてみると「Visual Studio Emulator for Android」というHyper-Vベースで動くエミュレーターが用意されているらしいので設定してみました
Visual Studio Emulator for Android
すでに色んな方が同じ様な記事を書かれていますが、わたくしも今一度、再確認でございます…
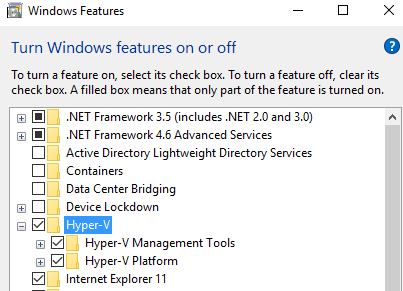
1. まず、Hyper-V が有効なこと
(Control Panle > Programs and Features > Turn Windows features on or off)
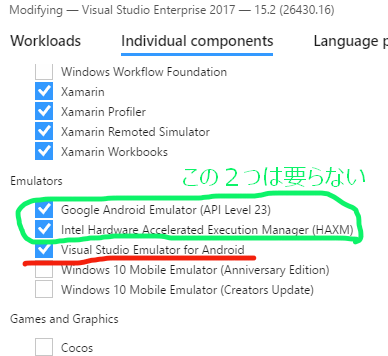
2. Visual Studio 2017のインストーラーで「Visual Studio Emulator for Android」を選択すること
下の図では「Google Android Emulator」「HAXM」も選択してますが、はっきり言って
この2つと、「Visual Studio Emulator for Android」は、排他の関係にあるので
「Visual Studio Emulator for Android」だけ選択でOK
3. 「Visual Studio Emulator for Android」を立ち上げる
検索すると、インストールされてます
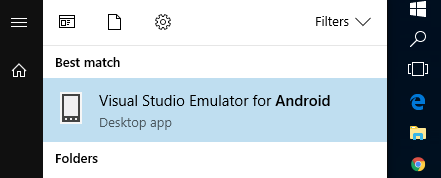
立ち上げたらこんな画面
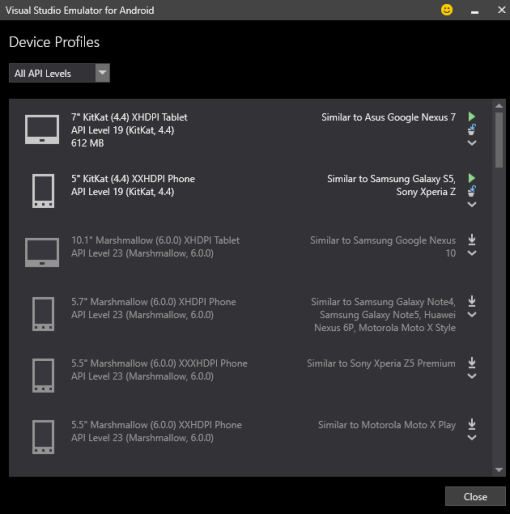
これでまずは準備完了
エミュレーターの起動
1. 空のプロジェクトを作る
わたしはC++で開発したかったので、Androidプロジェクトの「Native-Activity Application (Android)」で新規作成しました
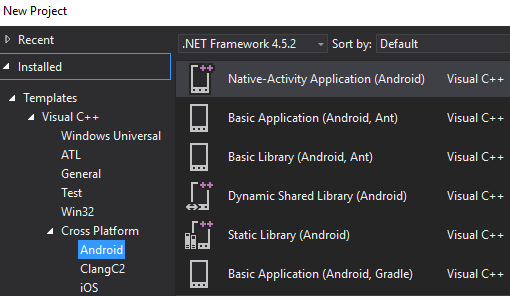
デバックメニューに「Visual Studio Emulator for Android」の欄が増えてますね
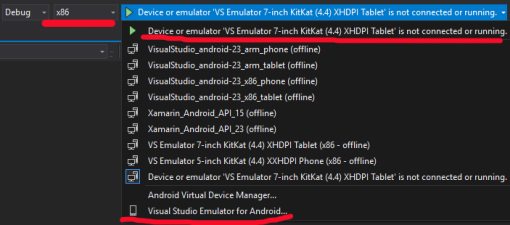
(注意!)「x86」を選択しないと、このエミュレーターは出てきません!
2. 「Visual Studio Emulator for Android」でAndroidを起動させる
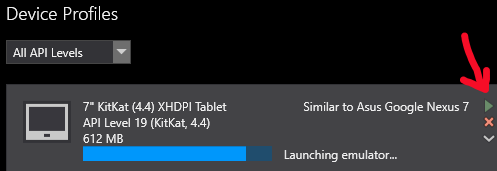
先ほど立ち上げた「Visual Studio Emulator for Android」のメニューより、緑の三角印を押して、エミュレーターを起動させます
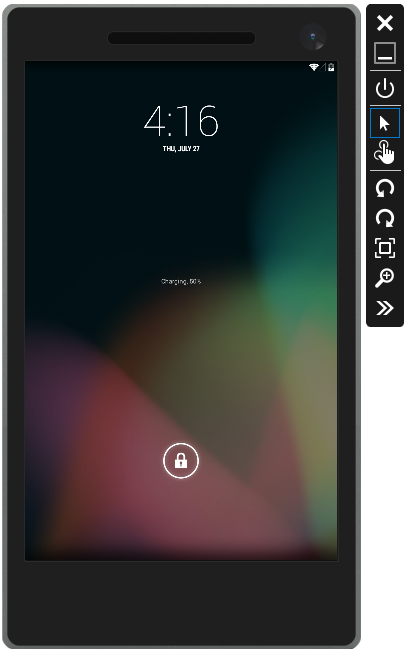
起動できた(`・ω・´)
エミュレーターが起動しない時
最初、わたしはエミュレーターが起動途中でストップしてしまいました(-_-)zzz
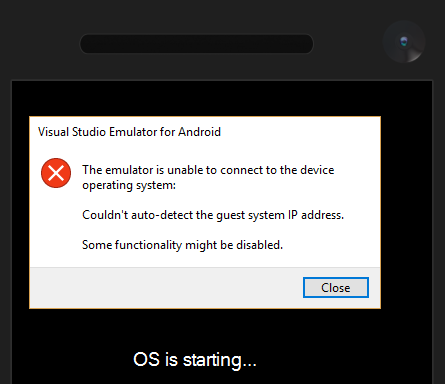
The emulator is unable to connect to the device operating system:
Could’t auto-detect the guest system IP address.
Some functionality might be disabled.
なんじゃこりゃ…(´・ω・`)
IPうんぬんと書かれてるので、NWプロパティを見てみます
Conrtol Panel
> Network and Internet
> Network Connections
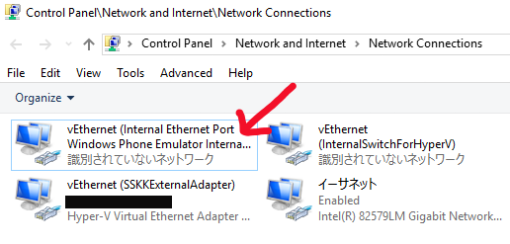
Hyper-Vが「Visual Studio Emulator for Android」のために作ったと思われるアダプターがありました
わたしの場合
vEthernet (Internal Ethernet Port Windows Phone Emulator Internal Switch)
という名前です
IPv4プロパティを見てみると、変なIPアドレスが割り当てられてる…?
慌てて削除し、動的に変更する設定に変えます↓↓↓

いちお、NWアダプタは「識別されてないネットワーク」状態ですが
エラー表示にはなっていません
この状態で、エミュレーターを起動させると、無事立ち上がりました(^^)良かった!
エミュレーターでデバックする
VSに戻ってみると、こんな感じでエミュレーターがデバックで使えるようになってます!

VSからデバック実行させると

サンプルが動作しました
この状態でブレークポイントも効くので、まずは最初の設定完了って感じでしょうか
パチパチ(^^)
※ちなみに実機でデバックする時には、「x86」じゃなくて「ARM」など、その実機に合ったCPUを選択したらOKです